ACCESS CI New User Account Setup
Table of Contents
- Welcome New User
- Read and Accept the ACCESS CI Acceptable Use Policy (AUP)
- Set/Reset your ACCESS CI Password
- First Login
- Enroll in Duo
- Fill in your ACCESS User Profile
- (Optional) Link your ACCESS Account with your University Account
- Need Support?
- Other ACCESS User Account Questions?
Welcome New User
Welcome new ACCESS CI user! You should have received your ACCESS ID (a.k.a., username) via email or from your local system administrator. However, there are several steps you need to take before you can use your account.
Read and Accept the ACCESS CI Acceptable Use Policy (AUP)
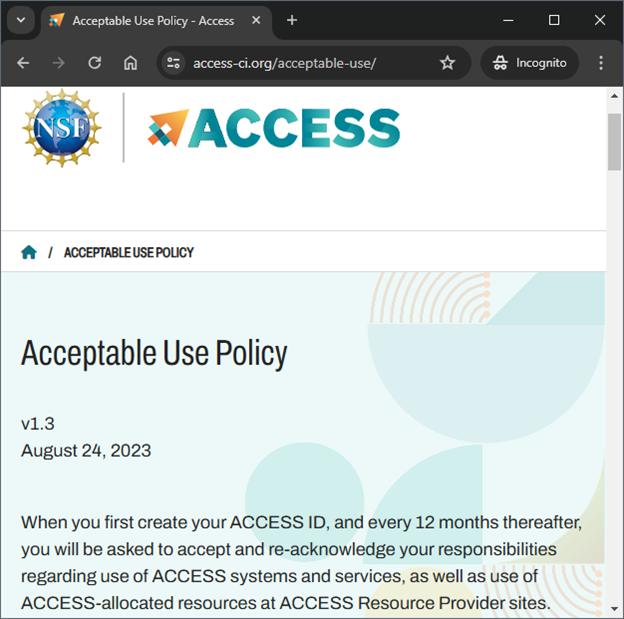
Visit https://access-ci.org/acceptable-use/ and read the ACCESS CI Acceptable Use Policy (AUP). You must agree to this policy in order to use ACCESS CI resources. If you do not agree to the AUP, please inform your local system administrator or contact support@access-ci.atlassian.net so your account can be deleted.
Set/Reset your ACCESS CI Password
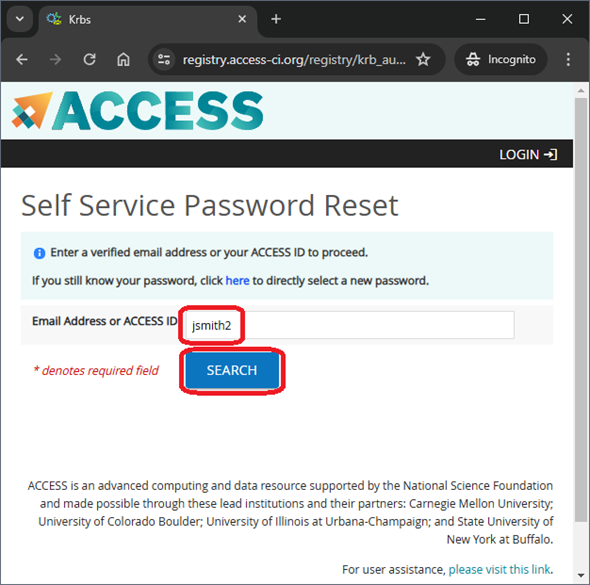
If you have never set your ACCESS password before, you need to do so now. Visit https://identity.access-ci.org/password-reset and enter your ACCESS ID. Then click the “SEARCH” button.
An email will be sent to your registered address.
Allow at least 5 minutes to receive the email. Be sure to check your Inbox and Spam/Junk folders. If you do not receive it, it’s possible that your school is blocking emails from our system. Please send email to support@access-ci.atlassian.net with your ACCESS ID for assistance.
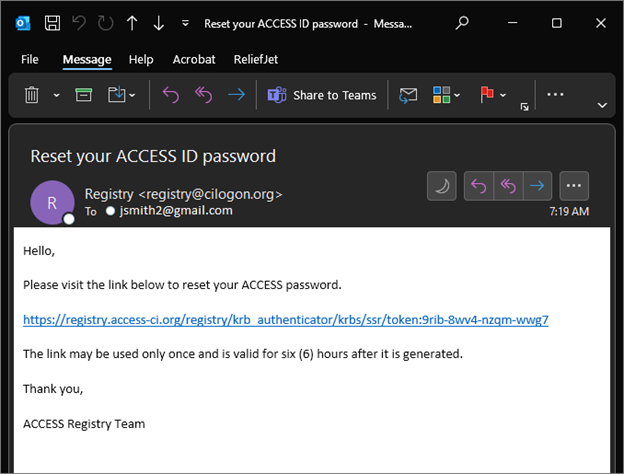
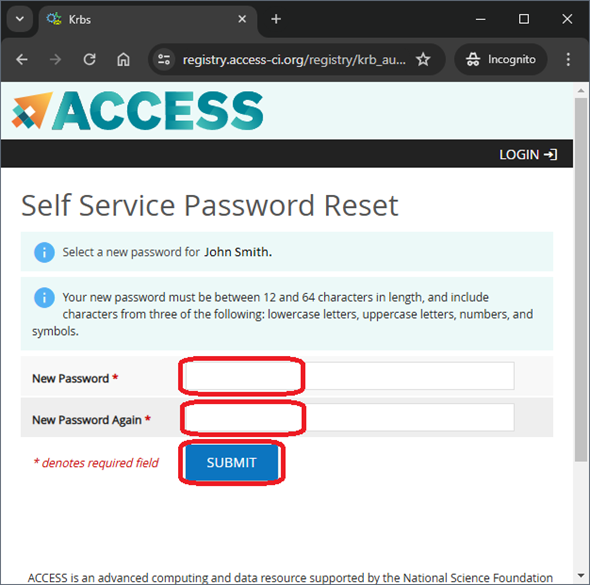
Once you receive the email, click the link to open the password reset page. Enter your new password (twice) and click the “SUBMIT” button.
First Login
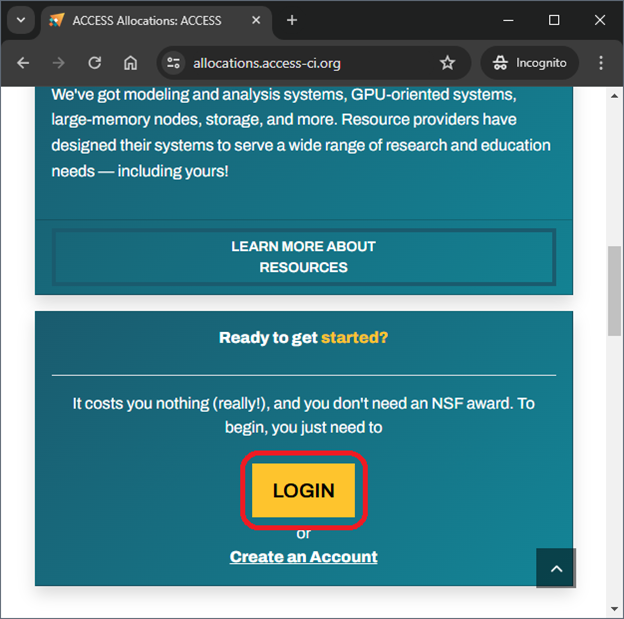
Visit https://allocations.access-ci.org/ and click the yellow “LOGIN” button in the “Ready to get started?” section. Alternatively, click the “Login” menu at the top-right of the screen, then select “Login” from the drop-down menu.
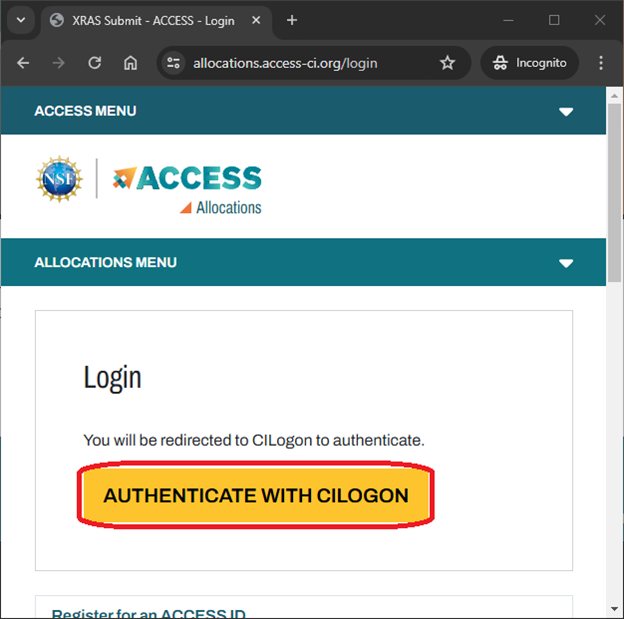
Click the “AUTHENTICATE WITH CILOGON” button.
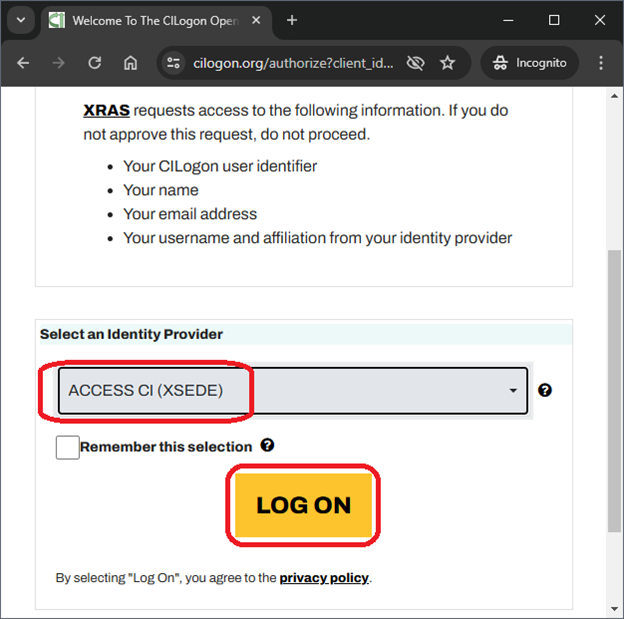
In the “Select an Identity Provider” box, ensure the Identity Provider is “ACCESS CI (XSEDE)”. Then click the “LOG ON” button.
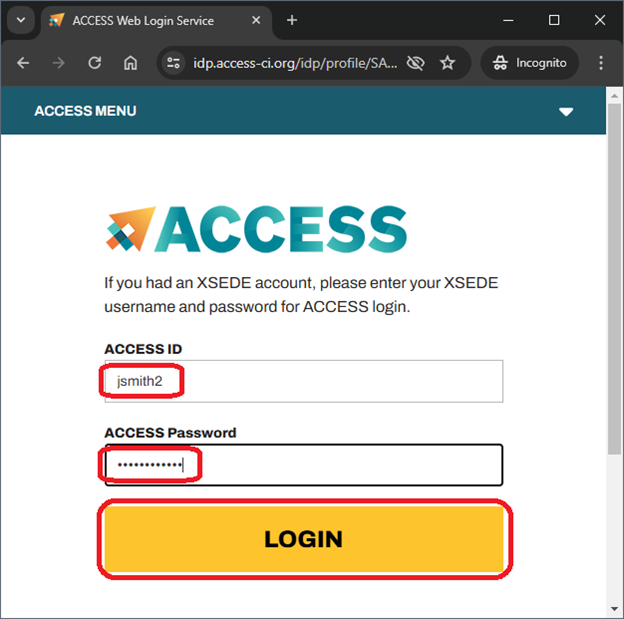
Enter your assigned ACCESS ID (username) and the password that you previously set. Then click the “LOGIN” button.
Enroll in Duo
On your first login, you will be required to enroll in Duo for ACCESS. Install the Duo security app on your phone and configure it to use Duo Mobile / Duo Push. We do not recommend the Phone Call option as it is unreliable.
If you do not have a modern cell phone supported by the Duo security app, you can try one of the following alternatives:
- Touch ID / Face ID on a Mac device
- Windows Hello on a Windows PC
- Hardware security key such as a YubiKey
- Duo security app on a Mac / Android Tablet
- A web browser which supports WebAuthn
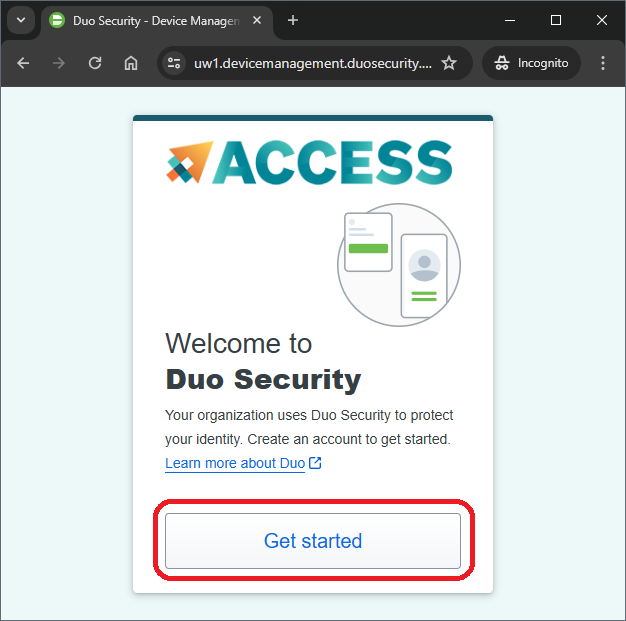
Click the “Get Started” button to begin the enrollment process.
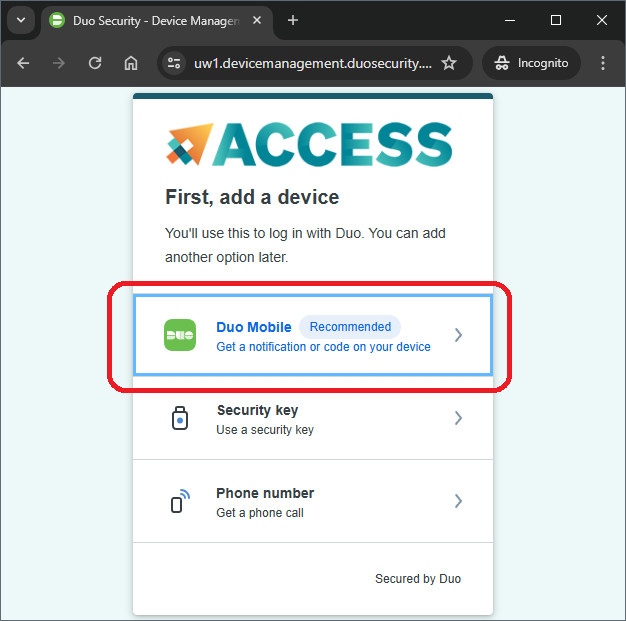
Select “Duo Mobile” to begin the setup for “Duo Push”.
Enter your phone number. If you do not have a phone number, you can click the “I have a tablet” link to simply use the Duo security app without an associated phone number.
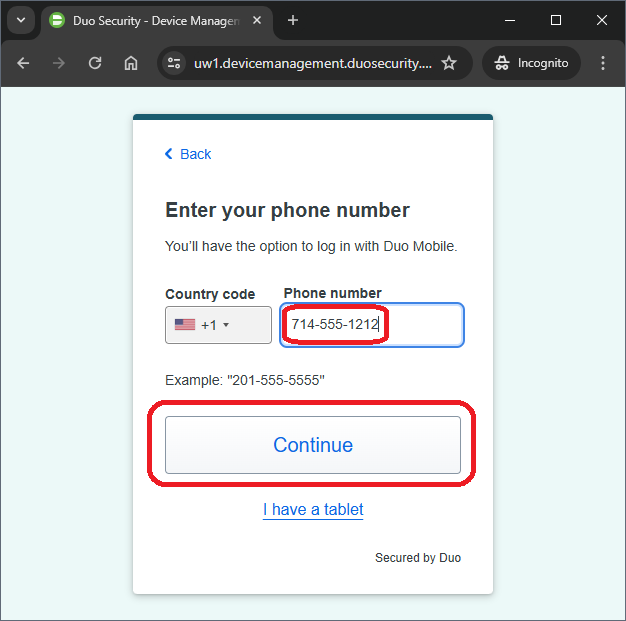
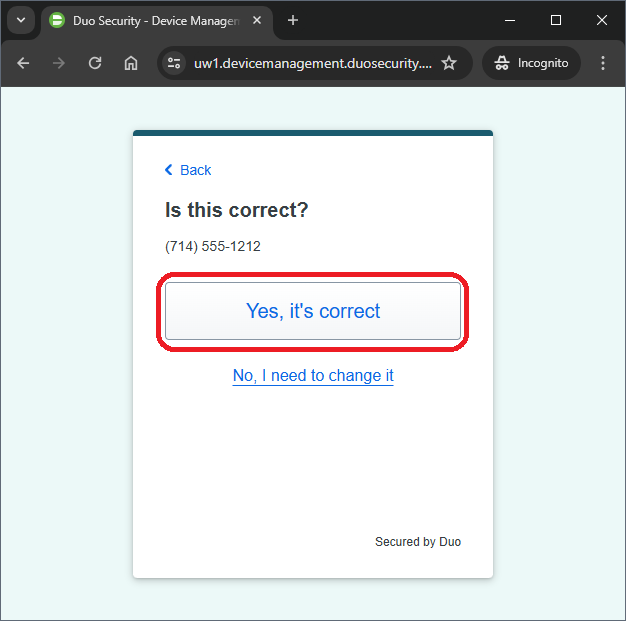
Verify you entered your phone number correctly.
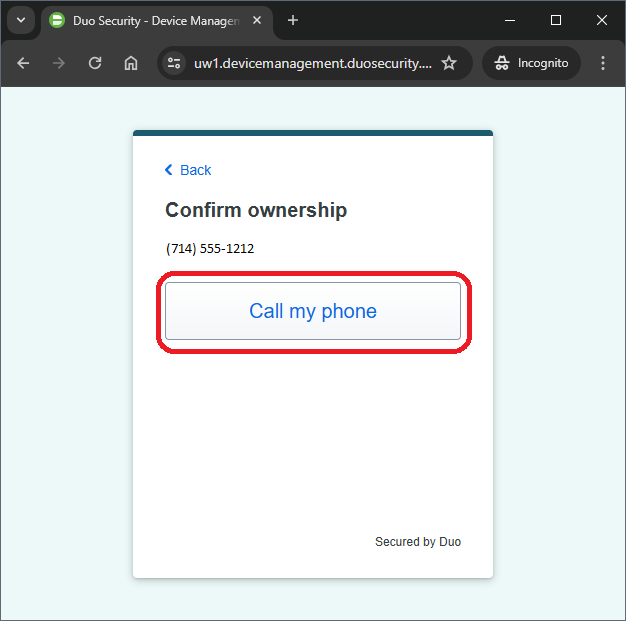
Have Duo call your phone. You will receive a phone call with a 6-digit code to enter.
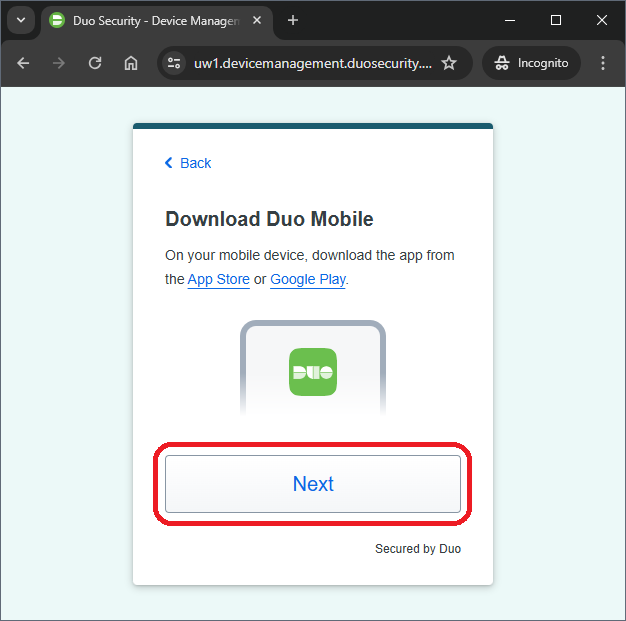
Download the Duo security app from your device’s app store. Then click the “Next” button.
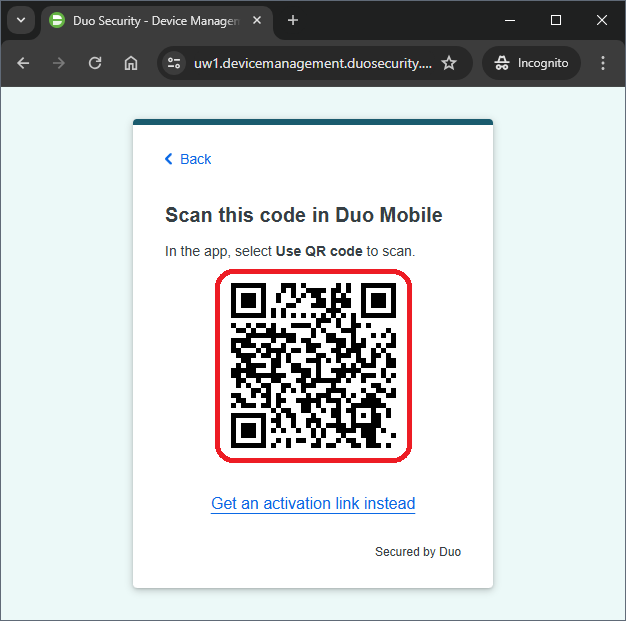
Open the Duo security app and select “Use QR code” to scan the QR code on screen.
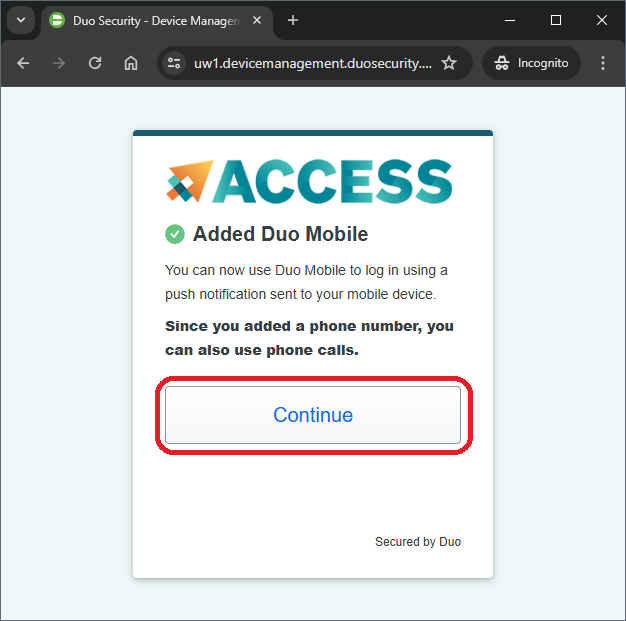
After your device has been confirmed, you should see a success message. Click the "Continue" button.
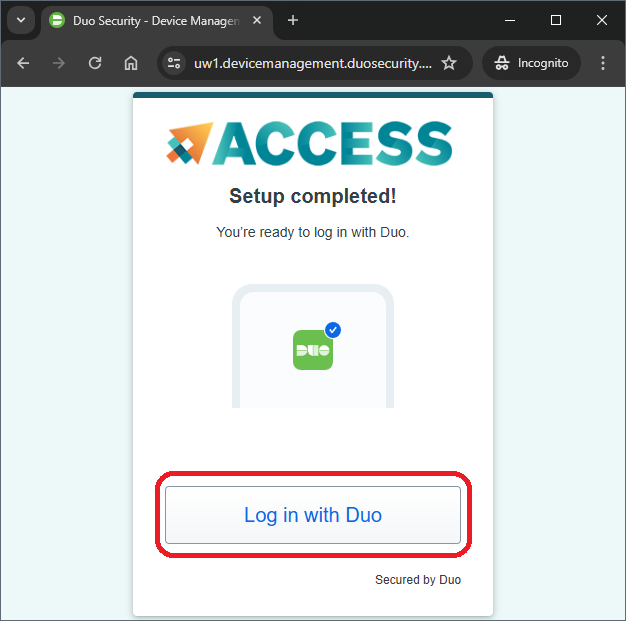
Finally, click the “Log in with Duo” to receive a Duo Push to your phone. Confirm the push by tapping the green checkmark on your phone.
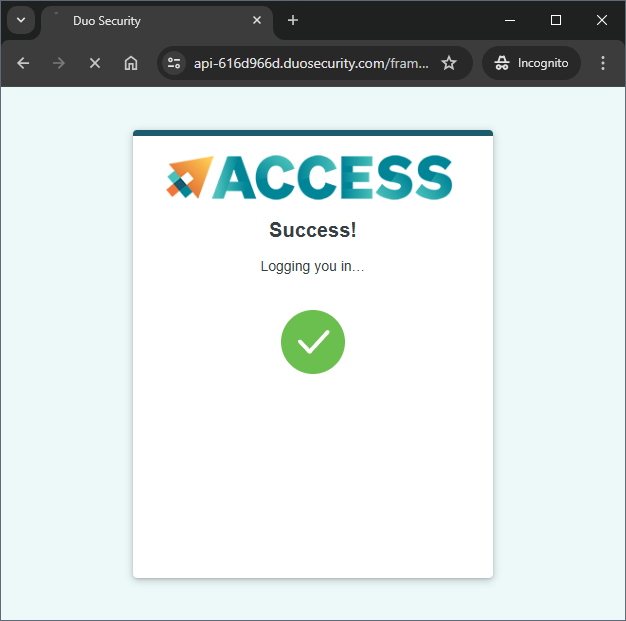
You should see the success screen. Your browser should be automatically redirected to the ACCESS Allocations site.
Fill in your ACCESS User Profile
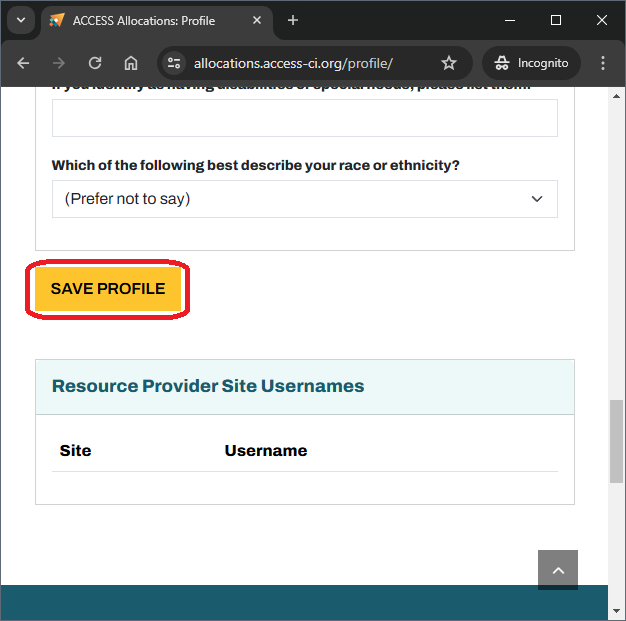
Visit https://allocations.access-ci.org/profile/ and fill in the “Additional Information” section including your Academic Status, Current country of residence, and Citizenship. Optionally fill in the “Demographics” section. You are required by the ACCESS CI AUP to keep this information up to date.
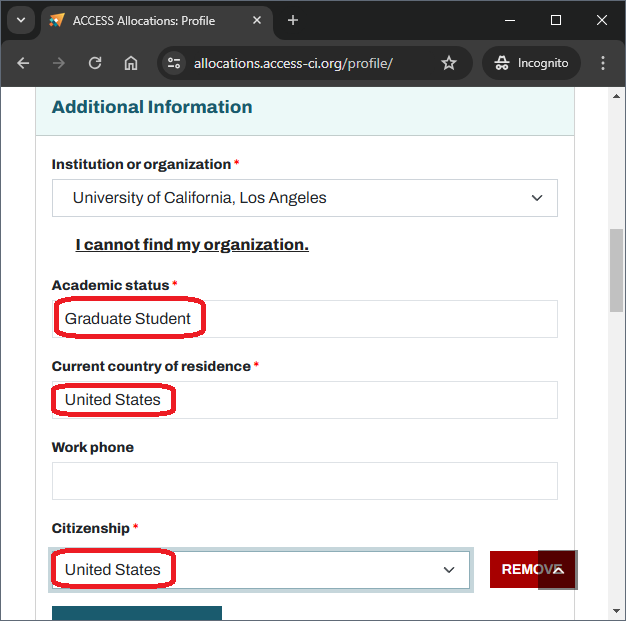
Scroll to the bottom of the page and click the “SAVE PROFILE” button.
(Optional) Link your ACCESS Account with your University Account
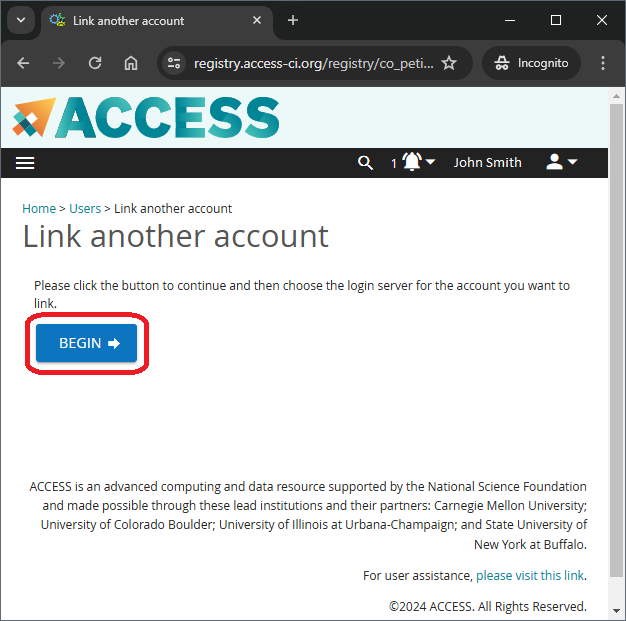
If you want to be able to log on to ACCESS websites using your university account or "social" identity provider (e.g., ORCID, GitHub, Google, or Microsoft), you can “link” the two accounts by following the instructions at https://identity.access-ci.org/id-linking. Log on to https://registry.access-ci.org/ and click on your name in the upper-right corner. Select “Link another account” from the drop-down box.

Click the “BEGIN” button to start the linking process.
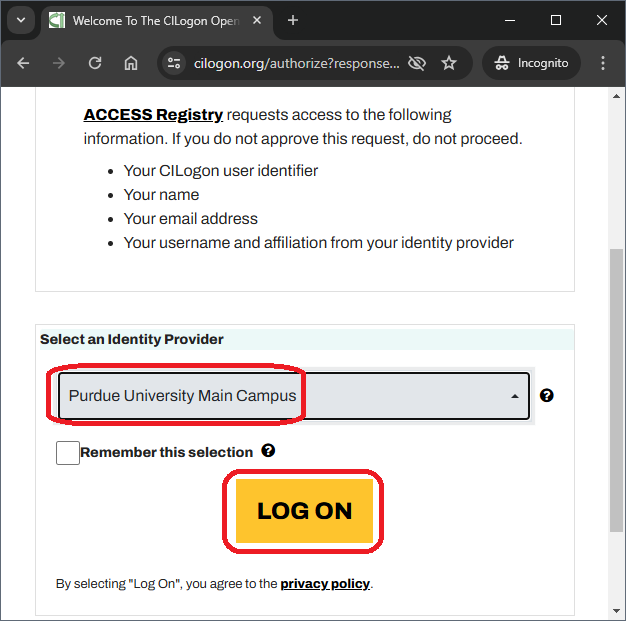
In the “Select an Identity Provider” box, choose your university or "social" identity Provider. DO NOT choose "ACCESS CI (XSEDE)". Then click the “LOGON” button. Log on to your account as you typically would. Then follow the prompts to complete the linking process. Now you can select either “ACCESS CI (XSEDE)” OR your linked identity provider to log on to ACCESS CI.
Need Support?
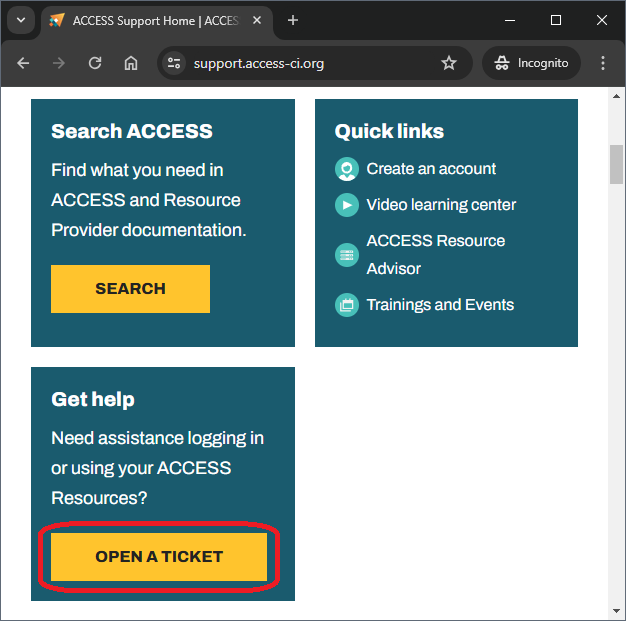
If you need assistance, visit https://support.access-ci.org/ and click the “OPEN A TICKET” button or send email to support@access-ci.atlassian.net.
Other ACCESS User Account Questions?
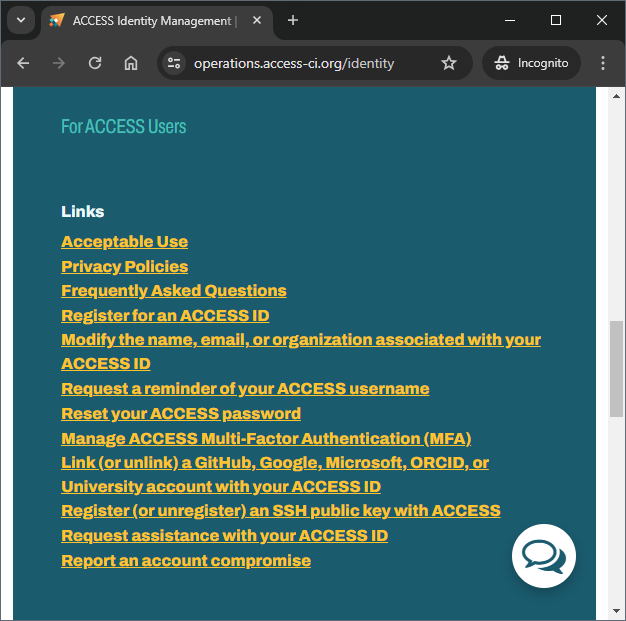
For other ACCESS account user issues, visit https://operations.access-ci.org/identity for some FAQs.